Create/Edit a New Project Point / Points
The Edit/Add Project Points option allows the user to add, delete, move and edit points in a project. Adding points can be done as single point adds, line of point add or grid point adds. The option also allows seismic velocity models to be assigned to new project points and provides mapping and spacial functions that allow the user to visualize the point data on a map.
Select the "Edit/Add Project Points" option from the Project Data menu. The full menu can be seen by left swiping the Project data options bar. Right swiping will close the full option menu.


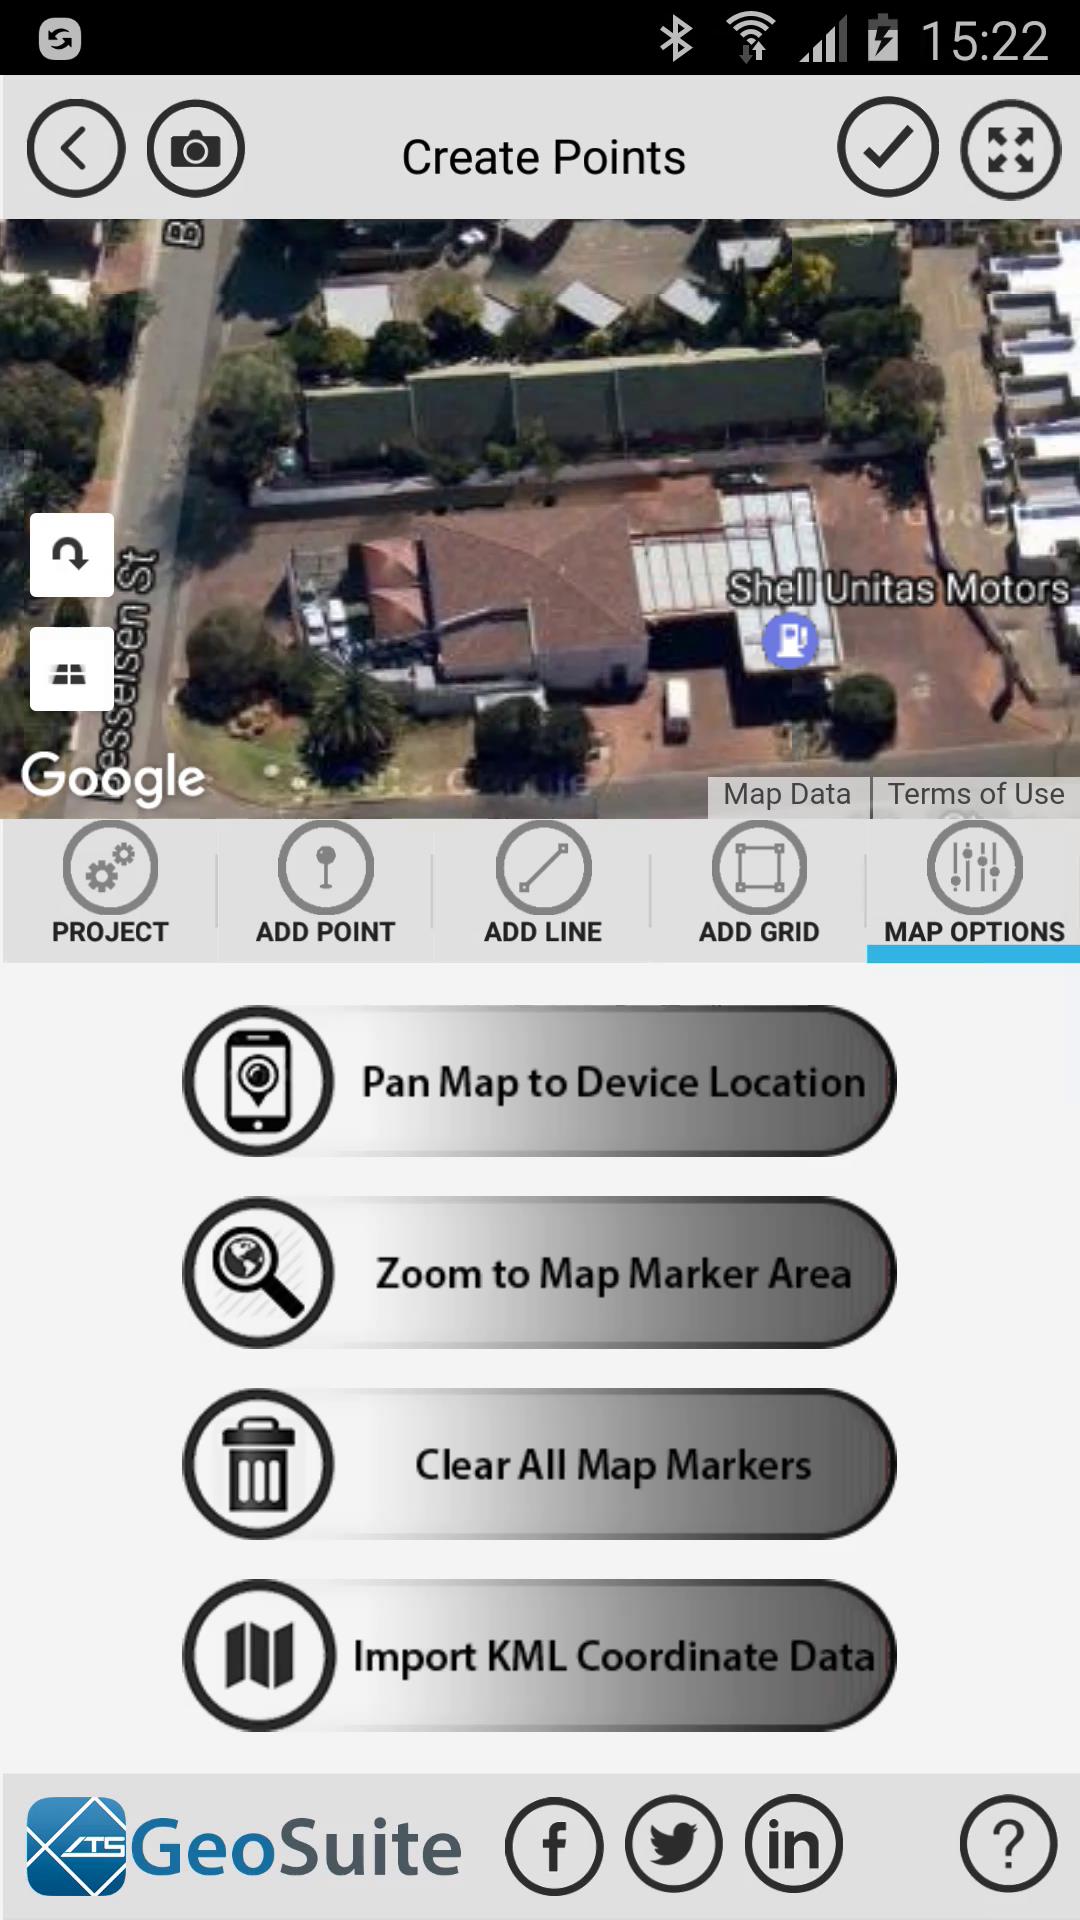
The Create Points menu contains an interactive map that can be dragged and zoomed by touch. If a point marker is created on the map it can be moved by touching on the marker and dragging it. Deleting a map marker can be done by double tapping on that marker.
Once in the "Create Points" menu has opened, select the "Map Options" tab. Select the "Pan Map to Device Location" option. The Device GPS will determine your location and Zoom and Pan the map to your location.
Next, select the "Project" Tab. Then select a seismic velocity model from the list.

To add single points to the map select the "Add Point" Tab. You can add points manually by entering the points coordinates into the provided latitude and longitude fields in WGS84 Decimal degrees format then press the "Add Map Point" button. The points can also be added to the map by simply clicking on the map itself at the location the point must be added. Multiple single points can be added to a project.

To clear all the map points added to the map, select the "Map Options" tab, then select the "Clear All Map Markers" option. The map markers created will be cleared.

To add a line of points to your project, select the "Add Line" Tab. To add the line of points manually, enter the line beginning and end latitude and longitude coordinates in WGS84 Decimal Degree format in the provided fields. Enter the inter-point spacing in meters or feet in the provided field then select the "Create Map Point Line" option and the line of points will be created and displayed on the map. The line of points can also be created by selecting the beginning and end location directly on the map. Simply touch the visual start and end locations of the line directly on the map and the line will be created using the inter-point spacing specified.

A grid of points can also be created visually on the map by selecting the "Add Grid" tab. Define the latitude and longitude inter-point spacing by entering this data in the provided fields. Now define the grid area directly on the map by clicking on the boundary locations of the area within which the points must be created. A blue polygon will demarcate the area specified.

Now select the "Create Map Grid Points" option and the area specified will be filled with points created according to the parameters entered. If the user needs to create another grid, simply select the "Clear Map Grid Area" to remove the current polygon area then define the next grid area as done before.


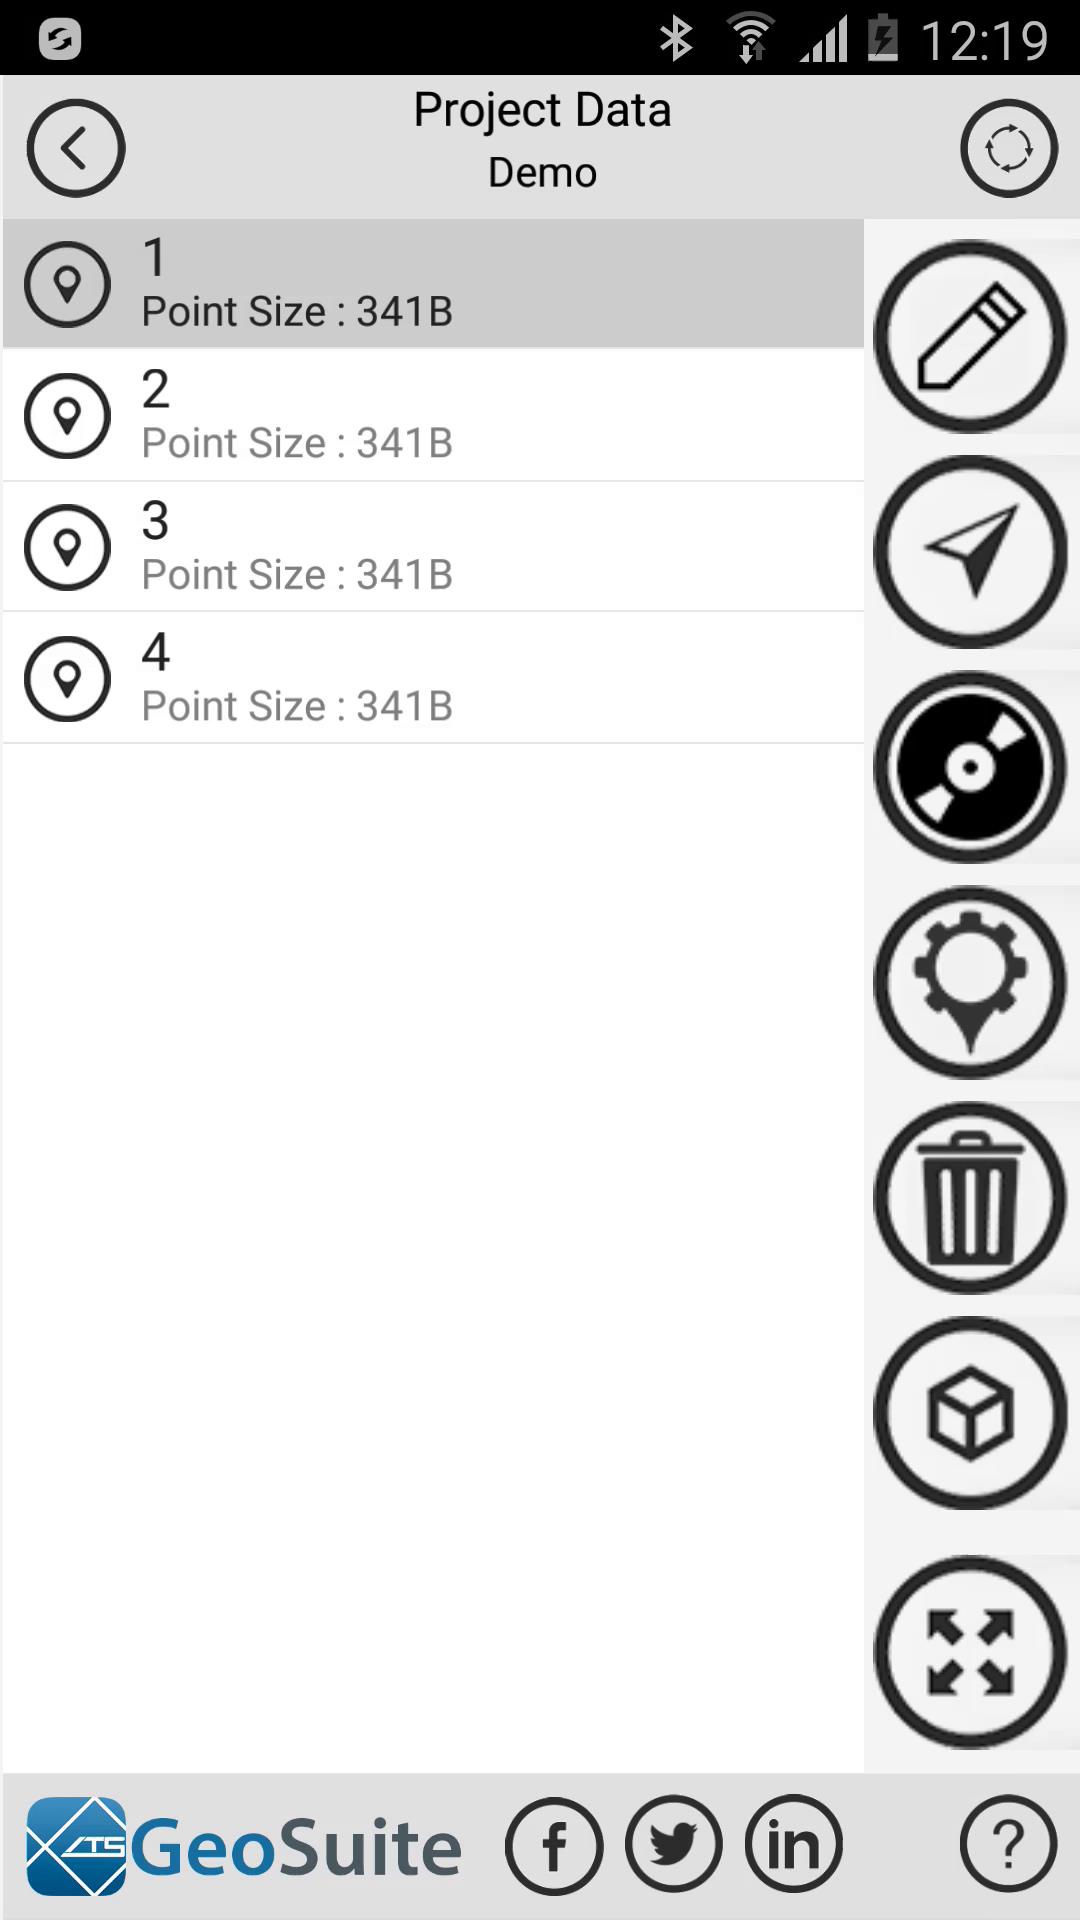
Lets say we have defined a four point project and would now like to see it on a larger map. Select the expand icon on the top of the menu.


An expanded map will then be shown. To minimizes the map select the Minimize option on the top of the menu.


Finally, to apply the created map points to the project and save them, select the "Accept" button a the top of the menu. The points will then be added to the project and will appear on the project data list.